Trying the LIFF starter app
When you're new to learning about LIFF, you may not know how to get started with LIFF app development. In this case the LIFF starter app can help.
The LIFF starter app is a template with the minimum features required for LIFF app development. You can develop your own LIFF app by customizing it based on the LIFF starter app. This page describes the LIFF starter app in the following steps:
By reading this page, you'll be able to deploy a LIFF app on a server and experience opening a LIFF app on LINE, which will give you an idea of how to build an app using LIFF.
- For more information about LIFF, see LIFF overview.
- If you would like to try out the LIFF features online, use the LIFF Playground to see what you can do with LIFF. The source code for LIFF Playground is available on GitHub, so developers can set their LIFF ID and run their own LIFF Playground. For example, each client API such as
liff.login()orliff.getProfile()can be run on the web based on the developer's LIFF ID.
What is the LIFF starter app?
The LIFF starter app is a template for LIFF apps. You can create LIFF apps from scratch, but using the LIFF starter app will give you a faster development experience.
The LIFF starter app provides implementations in vanilla JavaScript as well as Next.js and Nuxt. Each repository is as follows:
You can start developing LIFF apps by following the README of each repository. This page explains how to start developing LIFF apps with vanilla JavaScript.
How to get started with the LIFF starter app
The goal of this section is to deploy the LIFF starter app on a server and open it on the LINE's LIFF browser. The first step is to check the LIFF app in a local environment. Then deploy the LIFF app on a server, and finally set a value called LIFF ID to the server side.
Environment
The LIFF starter app runs on Node.js. Also, Yarn is used for package management. The content of this page, including the Netlify CLI described below, has been tested with each of the following versions:
| Name | Version |
|---|---|
| Node.js | 16.13.1 |
| Yarn | 1.22.17 |
| Netlify CLI | 9.16.3 |
Downloading and running the source code
- First of all, download the source code of the LIFF starter app. Open a terminal or command line tool (hereinafter referred to as "terminal"). On any directory, run the following command:
- In the
srcdirectory of the downloaded source code (line-liff-v2-starterdirectory), you'll find LIFF apps implemented with vanilla JavaScript, Next.js, and Nuxt. Go to the directory of the implementation you want to use. In this case, we'll use vanilla JavaScript.If you want to use Next.js or NuxtIf you want to use Next.js, run
cd line-liff-v2-starter/src/nextjs/, and if you want to use Nuxt, runcd line-liff-v2-starter/src/nuxtjs/to go to each directories. - The next step is to install the dependency packages and then launch the LIFF app. Execute the
yarn installcommand to install and theyarn devcommand to launch the LIFF app. When the compile success message (compiled successfully) appears and the terminal screen output stops, the LIFF app is running on the local server. - When you access the URL (
http://localhost:3000for vanilla JavaScript) displayed in the terminal with a browser, you'll see the following screen.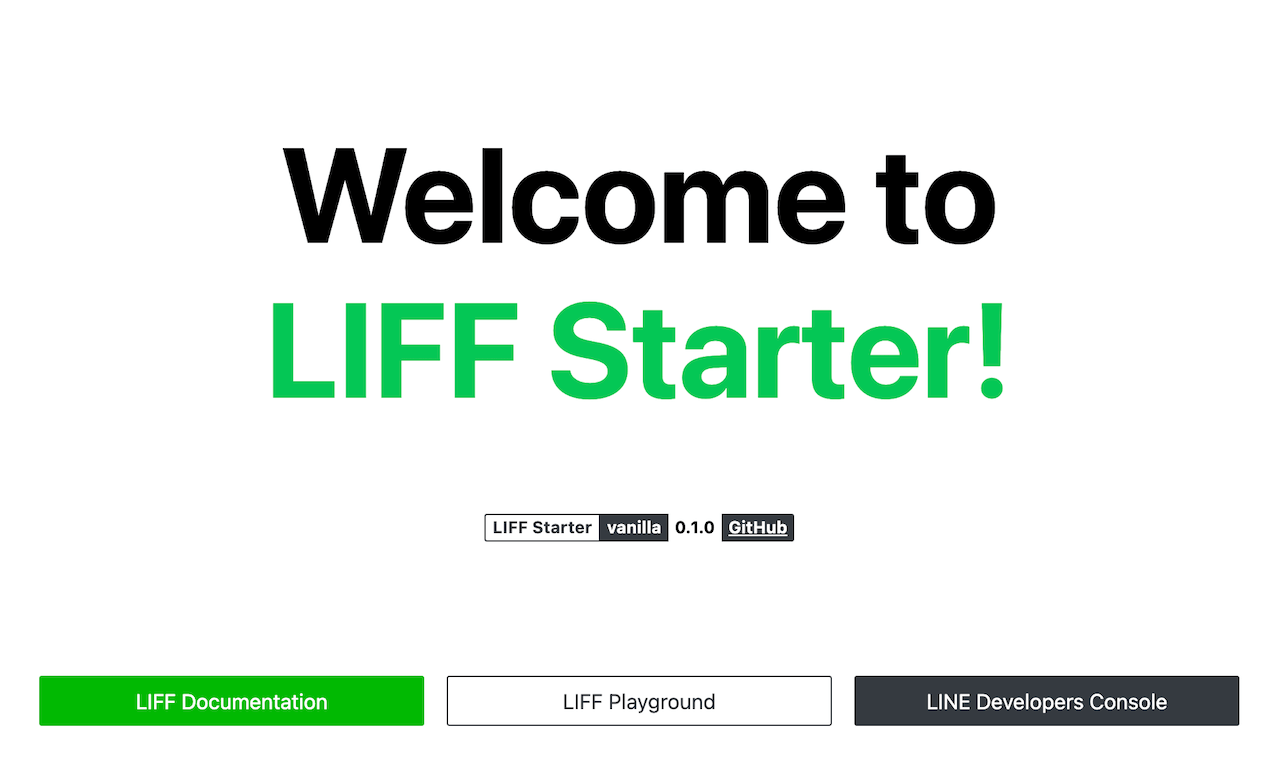 You'll need to set up a LIFF ID
You'll need to set the LIFF ID as an environment variable, but we haven't done that yet. You can set the LIFF ID in Getting and Setting a LIFF ID.
- Once you've confirmed that the LIFF app is running in your browser, stop the local server with ctrl+c for Windows or command+c for macOS.
Deploying to a server
By following the steps so far, we've been able to launch the LIFF starter app on the local server. The next step is to deploy the LIFF app to a server using Netlify.
Netlify is a hosting service for static sites, open an account before deploying to Netlify. The content on this page can be run on Netlify's free plan.
- The first step is to install the Netlify CLI. This is a command line tool that allows you to log in to Netlify and deploy your websites.
- You can now use the
netlifycommand. Next, login to your Netlify account with thenetlify logincommand. After executing the command, the Netlify login screen will open in your browser, so login.Before executing the netlify login commandOpen an account on the Netlify site first, then run the
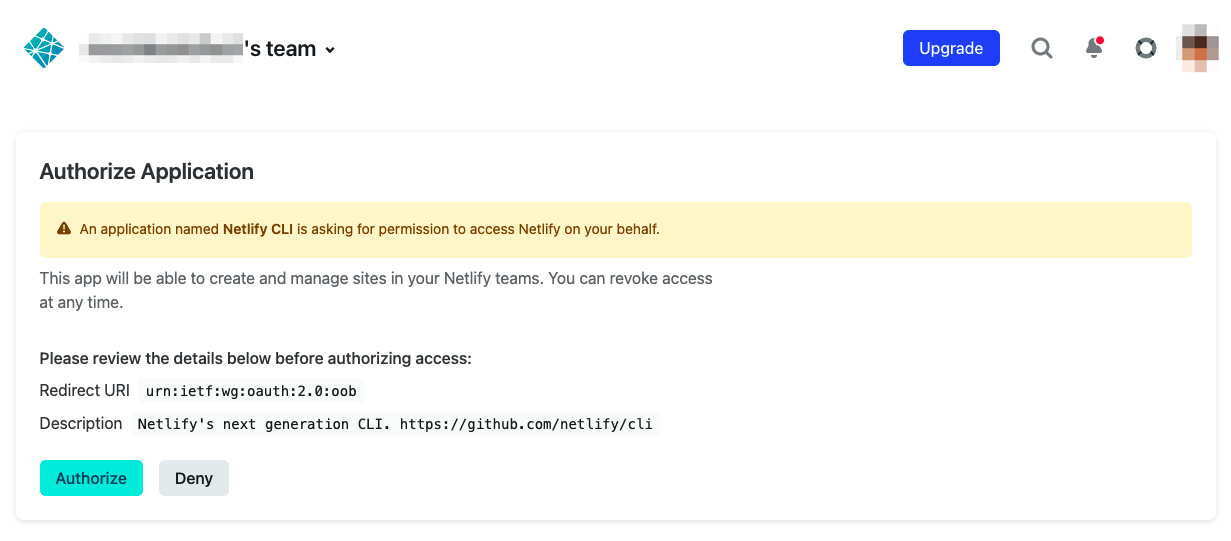
netlify logincommand. - After logging in, when the Netlify authorization screen appears, click Authorize.
- The next step is to generate files for deployment. This can be done by executing the following command under the
src/vanilladirectory. Note that the LIFF starter app is built using webpack. - Now, HTML and JavaScript files have been generated under
src/vanilla/dist. Then you need to deploy these files to Netlify.
To deploy to Netlify, run thenetlify deploycommand in the root directory (line-liff-v2-starter) of the repository. Without the option, thenetlify deploycommand will deploy in a draft state. First, try to deploy in draft state.
After running thenetlify deploycommand, when asked for the site to deploy to as follows, selectCreate & configure a new site. You can use the up and down keys to move through the choices.
You will be asked which team you want to create the site under. Continue with the default team.
You will be asked what you want to name the site. Enter a unique name.
Deployment in draft status has been completed. You can view the page by accessing theWebsite Draft URLdisplayed in the terminal with a browser. - Deploy to the production environment with the
--prodoption to thenetlify deploycommand if there are no problems after trying it in the draft state.
You've now deployed your LIFF app to Netlify. You can view the page by accessing the Website URL displayed in the terminal during deployment with a web browser.
Getting and Setting a LIFF ID
You've now deployed the LIFF starter app on the server.
At this point, if you open Netlify's Website URL in external browser or in-app browser, you will see the deployed LIFF starter app as a page. However, the LIFF starter app can't be opened as a LIFF app in LINE's LIFF browser.
A LIFF ID is required to open the LIFF starter app as a LIFF App. Read Create a channel and Adding a LIFF app to your channel first to get your LIFF ID.
You'll need to enter the Endpoint URL when adding the LIFF app to the channel. Enter here the Website URL that you obtained during deployment to the production environment in the previous step.
You can obtain your LIFF ID by following the above procedure. Set this as the server-side environment variable LIFF_ID.
- To set an environment variable in Netlify, use the
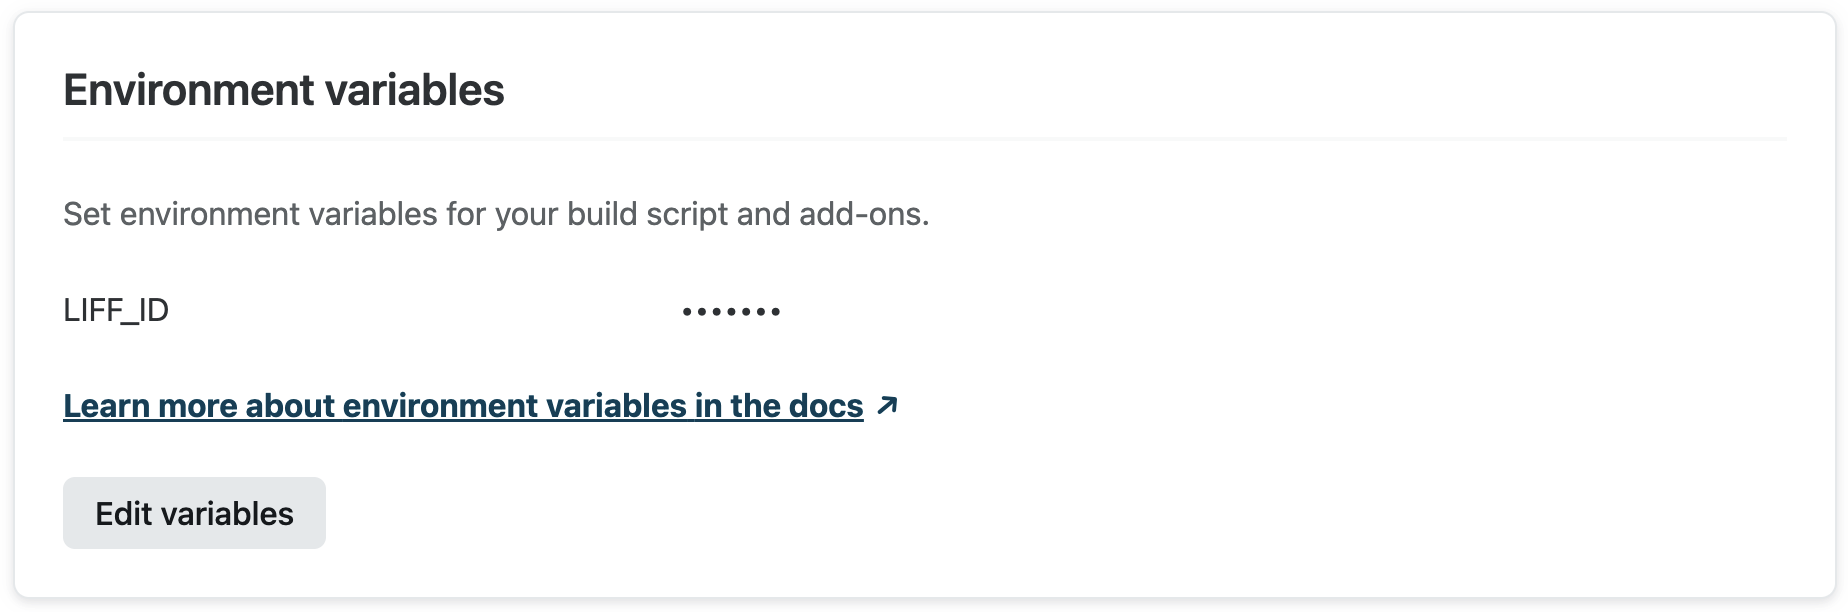
netlify env:setcommand. In other words, to setLIFF_ID, execute the following command: - Once you've set the environment variables, deploy to Netlify again. This is because Netlify will set the environment variables at deployment time.How to check the environment variables
You can check the environment variables in Netlify's site settings. For more information, see Build environment variables in the Netlify Docs.
- You can now open the LIFF app from the LINE, and the LIFF app URL will be displayed as the LIFF URL in the LIFF tab of the channel you created in the LINE Developers Console.
Send the LIFF URL to a LINE chat room and tap the LIFF URL on the chat room to open the LIFF app on LINE's LIFF browser.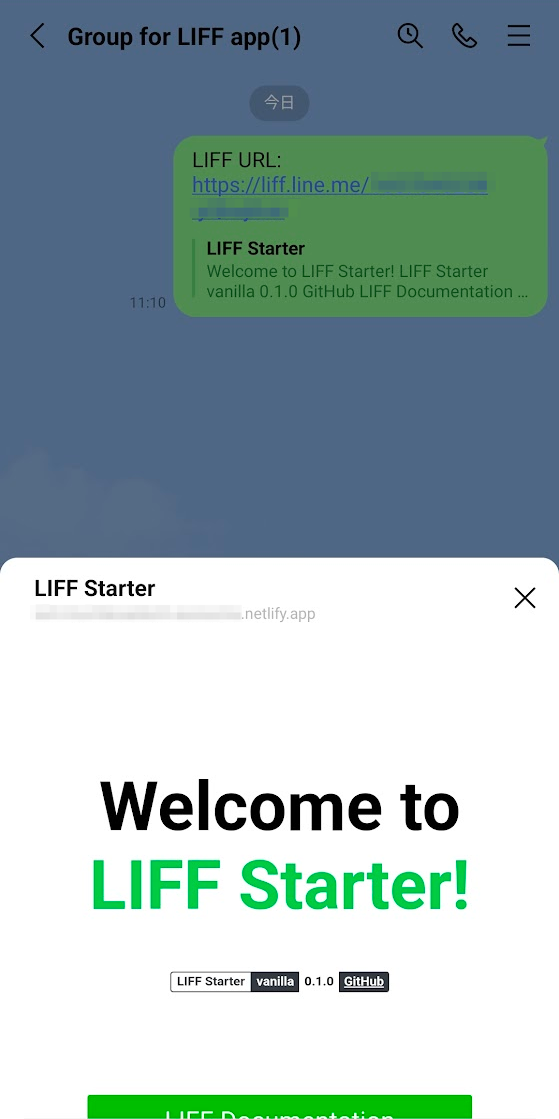
If you open the LIFF app without setting the LIFF_ID environment variable, initializing the LIFF app with liff.init() will fail, but there is no change in the appearance of the LIFF starter app.
Next step
You're now ready to develop your LIFF app. For more information on the actual development, see Developing a LIFF app.