Integrating LINE Login with your Android app
This topic explains how to implement LINE Login by integrating the LINE SDK for Android with your existing Android app. To see what LINE Login can do, read Trying the sample app and try the LINE Login sample app for Android.
Prerequisites
To build and use the LINE SDK for Android, you need:
- A provider and a LINE Login channel. You can create both in the LINE Developers Console.
- To set
minSdkVersionto 24 or higher (Android 7.0 or later).
If you want to set minSdkVersion to earlier than 24 (earlier than Android 7.0), use an earlier version of the LINE SDK for Android. For more information, see Releases.
Don't use resource IDs that start with linesdk_ as this may cause conflicts with the resources in the SDK.
Upgrading from earlier SDK versions
If you're upgrading from LINE SDK v4.x or earlier, it helps to know that the current version has these major differences:
- When starting login, you must specify Scopes to determine which user data your app can access.
- If you specify the
OPENID_CONNECTscope during login, you can get an ID token to securely verify the user's identity.
Add LINE SDK dependency
To integrate LINE SDK for Android, import the required library to your project and configure the Android manifest file of your project by following the steps below.
Import the library into your project
Add LINE SDK dependency in your module-level build.gradle file.

Add Android compilation options
Enable Java 1.8 support. In the same build.gradle file as above, add:
Setting the Android manifest file
To specify that your app requires Internet access, add the INTERNET permission to your AndroidManifest.xml file.
Make sure the launch mode of the activity that is making the login call is not set to singleInstance as that may prevent the activity from receiving the onActivityResult callback.
Linking your app to your channel
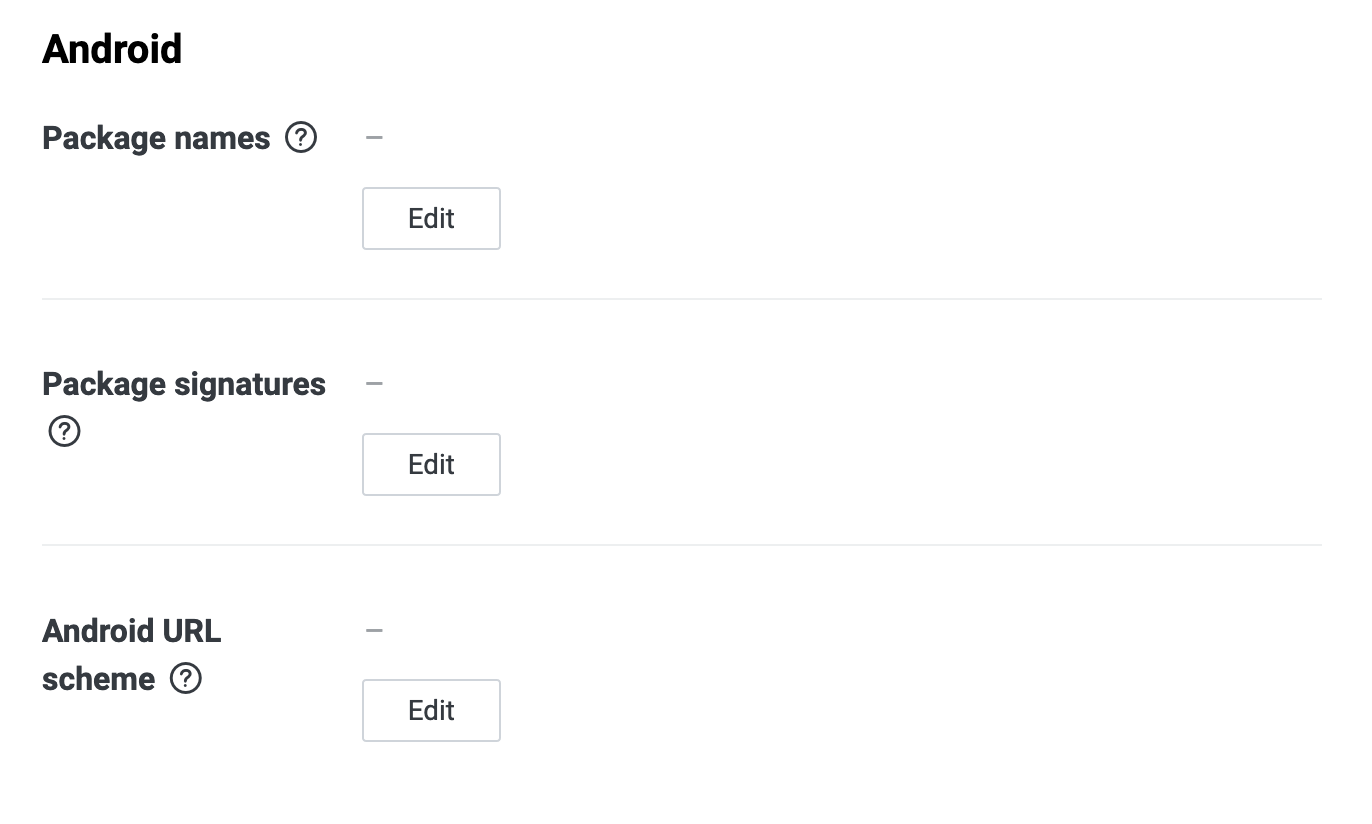
Linking your app to a LINE Login channel, enable Mobile app on the LINE Login tab of your channel settings on the LINE Developers Console and complete these fields.
- Package names: Required. Application's package name used to launch the Google Play store.
- Package signatures: Optional. You can set multiple signatures by entering each one on a new line.
- Android URL scheme: Optional. Custom URL scheme used to launch your app.
Set Package Signatures
Package signatures are crucial for enhancing authentication interactions between your app and the LINE app. There are two types of package signature, debug package signature and release package signature. These are related to the key hash in SHA-1 format.
Debug package signature
Debug package signature is generated from a Debug certificate that is automatically generated by Android Studio when running or debugging your app.
Release package signature
Release package signature is generated from a Release certificate used to release the app to the store. Replace <RELEASE_KEY_ALIAS> and <RELEASE_KEY_PATH> with your actual release key alias and path.
Using the Google Play Console to get Release key hash
If you are using Play App Signing, you should use the SHA-1 certificate fingerprint obtained from the Google Play Console instead of generating a Release key hash on the Terminal. For more information, see Use Play App Signing in the Play Console Help.
In the Google Play Console, navigate to Setup > App signing, and then copy the value of the SHA-1 certificate fingerprint.
Adding the LINE Login button
To let the user log in to your Android app, you can create a LINE-branded login button to take the user through the authentication and authorization process.
There are 2 ways to add a login button:
Use the LINE SDK's built-in login button
The LINE SDK provides a pre-defined login button. You can add a login button to the user interface of your app to provide your users with a quick way to log in as below:
- Add the login button in your layout XML file.
- Find the view in your activity or fragment, set up necessary parameters, and assign a listener to it.
Use a customized login button
Instead of using the default login button, you can also customize your user interface and login process with your own code.
Download and add the images to your project
The LINE Login button image set includes images for iOS, Android and desktop applications. The image set for Android includes images for multiple screen densities and button states. In this guide, we’ll use the "base" and "pressed" login button images in the Android folder.
- Download and extract the LINE Login button images.
- Add the "base" and "pressed" login button images to the
drawablefolder for each screen density.
Configure the images
Before you can use the images, you’ll need to add the login button text that you want to use. See LINE Login button design guidelines for the recommended login button text for different languages. You’ll also need to define stretchable regions of the image to add the button text without distorting the LINE icon.
- Create 9-patch files for each image and define the stretchable regions for the login button text.
- Add the button to the login screen of your app as a clickable text view with your desired login button text.
- Add selector XML files in your drawable folders to define the image which corresponds to the state of the text view.
Starting the login activity
When a user taps the login button, your app calls getLoginIntent() to get the login intent and start the login activity. The context and the channel ID must be passed into this method. If LINE is installed on the device, LINE is opened to perform login without asking for the user’s LINE credentials. If LINE is not installed, users are redirected to the LINE Login screen in a browser to enter their LINE credentials (email address and password).
- Set an on-click listener to listen for when the button is tapped.
- In the
onClickcallback, call thegetLoginIntent()method inLineLoginApito get the login intent to start the login activity. - Start the authentication process by calling
startActivityForResult()and passing the login intent and request code as parameters. The request code is an integer that is used to identify the request.
The following is an example of how to start the activity to log in the user when the user taps the login button.
If you do not want to use app-to-app login and instead have the user log in via the LINE Login screen in a browser, use the getLoginIntentWithoutLineAppAuth() method.
Handling the login result
After the user has logged in, the login result is returned in the activity’s onActivityResult() method. Your application must override this method to handle the login result.
Use the getResponseCode() method of the LineLoginResult object to determine if the login was successful. If getResponseCode() returns SUCCESS, the login was successful. Any other value indicates a failure. See Handling errors to determine the type of error that occurred.
The following shows an example of how the login result can be handled by your app.
Get the access token
The login result contains a LineCredential() object which contains the user’s access token. As shown in the example above, you can retrieve the access token using the following code.
Get user profile immediately after login
The LINE SDK automatically gets a user’s profile information upon logging in. The user’s profile information consists of the display name, user ID, status message, and profile media URL. Access this information by calling the getLineProfile() method in the LineLoginResult object. The following code snippet from the example above demonstrates how to get a user’s profile information from the login result and pass it into an intent.
The user ID is only unique to an individual provider. The same LINE user will have a different user ID for different providers. Avoid using the user ID to identify users across different providers.
Using user data on your server
Do not trust user IDs, or other information available in the LineProfile object, when sent by a client to your backend server. A malicious client can send an arbitrary user ID or malformed information to your server to impersonate a user.
Instead, the client should send the server an access token, and the server should use the token to retrieve user data.
Typically, a back-end server verifies a user's identity based on a user ID, display name, or some other LINE account property. But instead of sending that information from the client to your server directly, the client should send an access token. The server should then use this to securely verify the user's identity against the LINE Platform's server.
Learn more about access tokens from Get the access token.
Learn more about what APIs to call from your backend on these pages:
Using the LineApiClient interface
Use the SDK by calling the methods of the LineApiClient interface. To do this, create a static variable of a lineApiClient object and initialize the variable.
- Create a static variable of the object to call various methods.
- Initialize the
lineApiClientvariable on your activity’sonCreate()method as shown below. The channel ID and the context are required for initialization.
All methods in the LINE SDK for Android perform network operations and will cause NetworkOnMainThreadExceptions if called on the main thread. To avoid this issue, call the methods using AsyncTask.