Switch between tabs on rich menus
You can provide users with a rich menu with tab switching using per-user rich menus. To switch between rich menus with ease, like switching between tabs, use rich menu aliases and rich menu switch action.
Here are the steps to set up two rich menus, rich menu A and rich menu B and enable switching between the two:
- Prepare rich menu images
- Create rich menu A
- Upload rich menu A image
- Create rich menu B
- Upload rich menu B image
- Set rich menu A as default
- Create rich menu alias A
- Create rich menu alias B
- Stop displaying rich menu
1. Prepare rich menu images
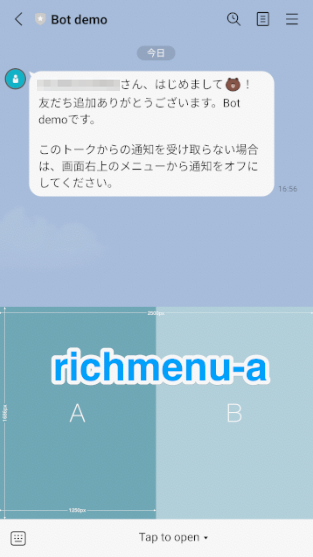
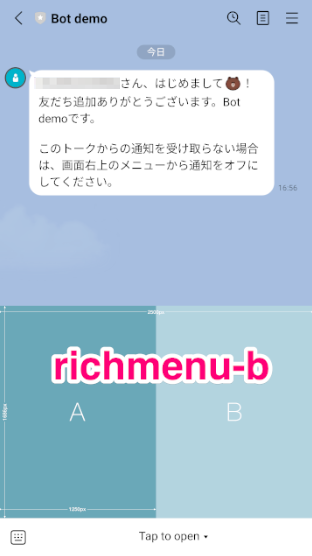
Prepare an image for rich menu A (richmenu-a.png) and an image for rich menu B (richmenu-b.png). For more information on supported image specification, see Requirements for rich menu image in the Messaging API reference.
| Image for rich menu A | Image for rich menu B |
|---|---|
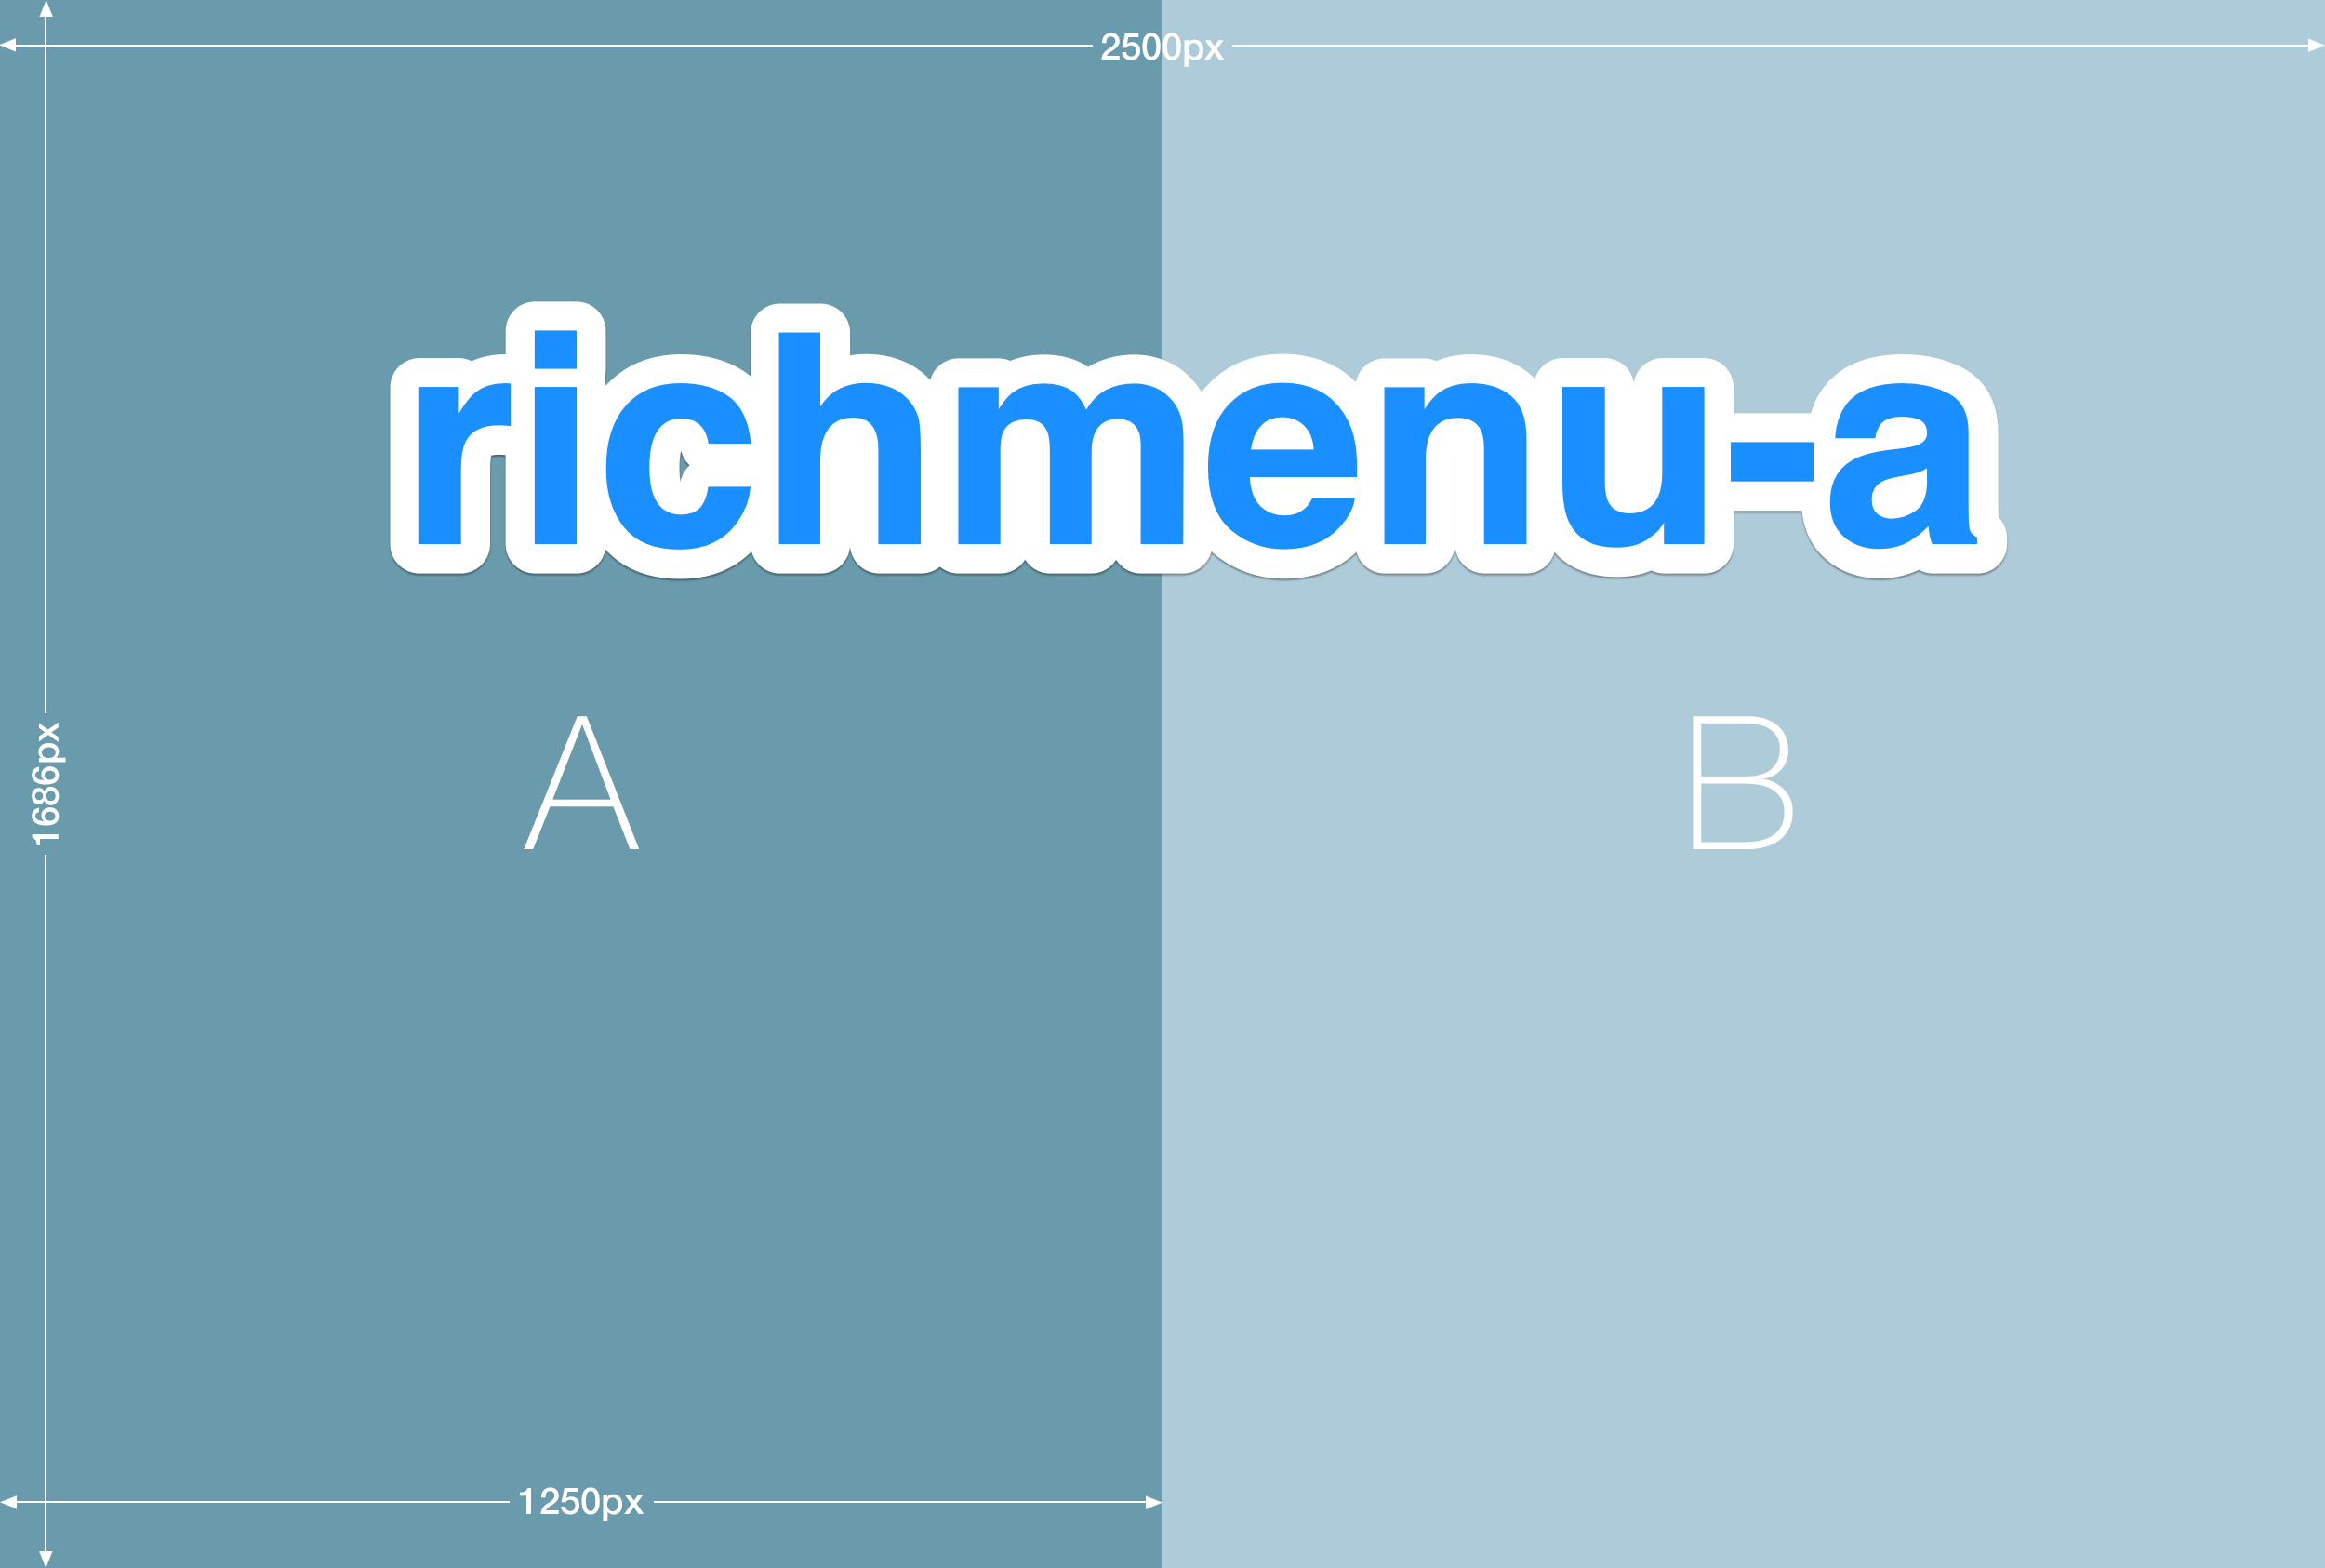 | 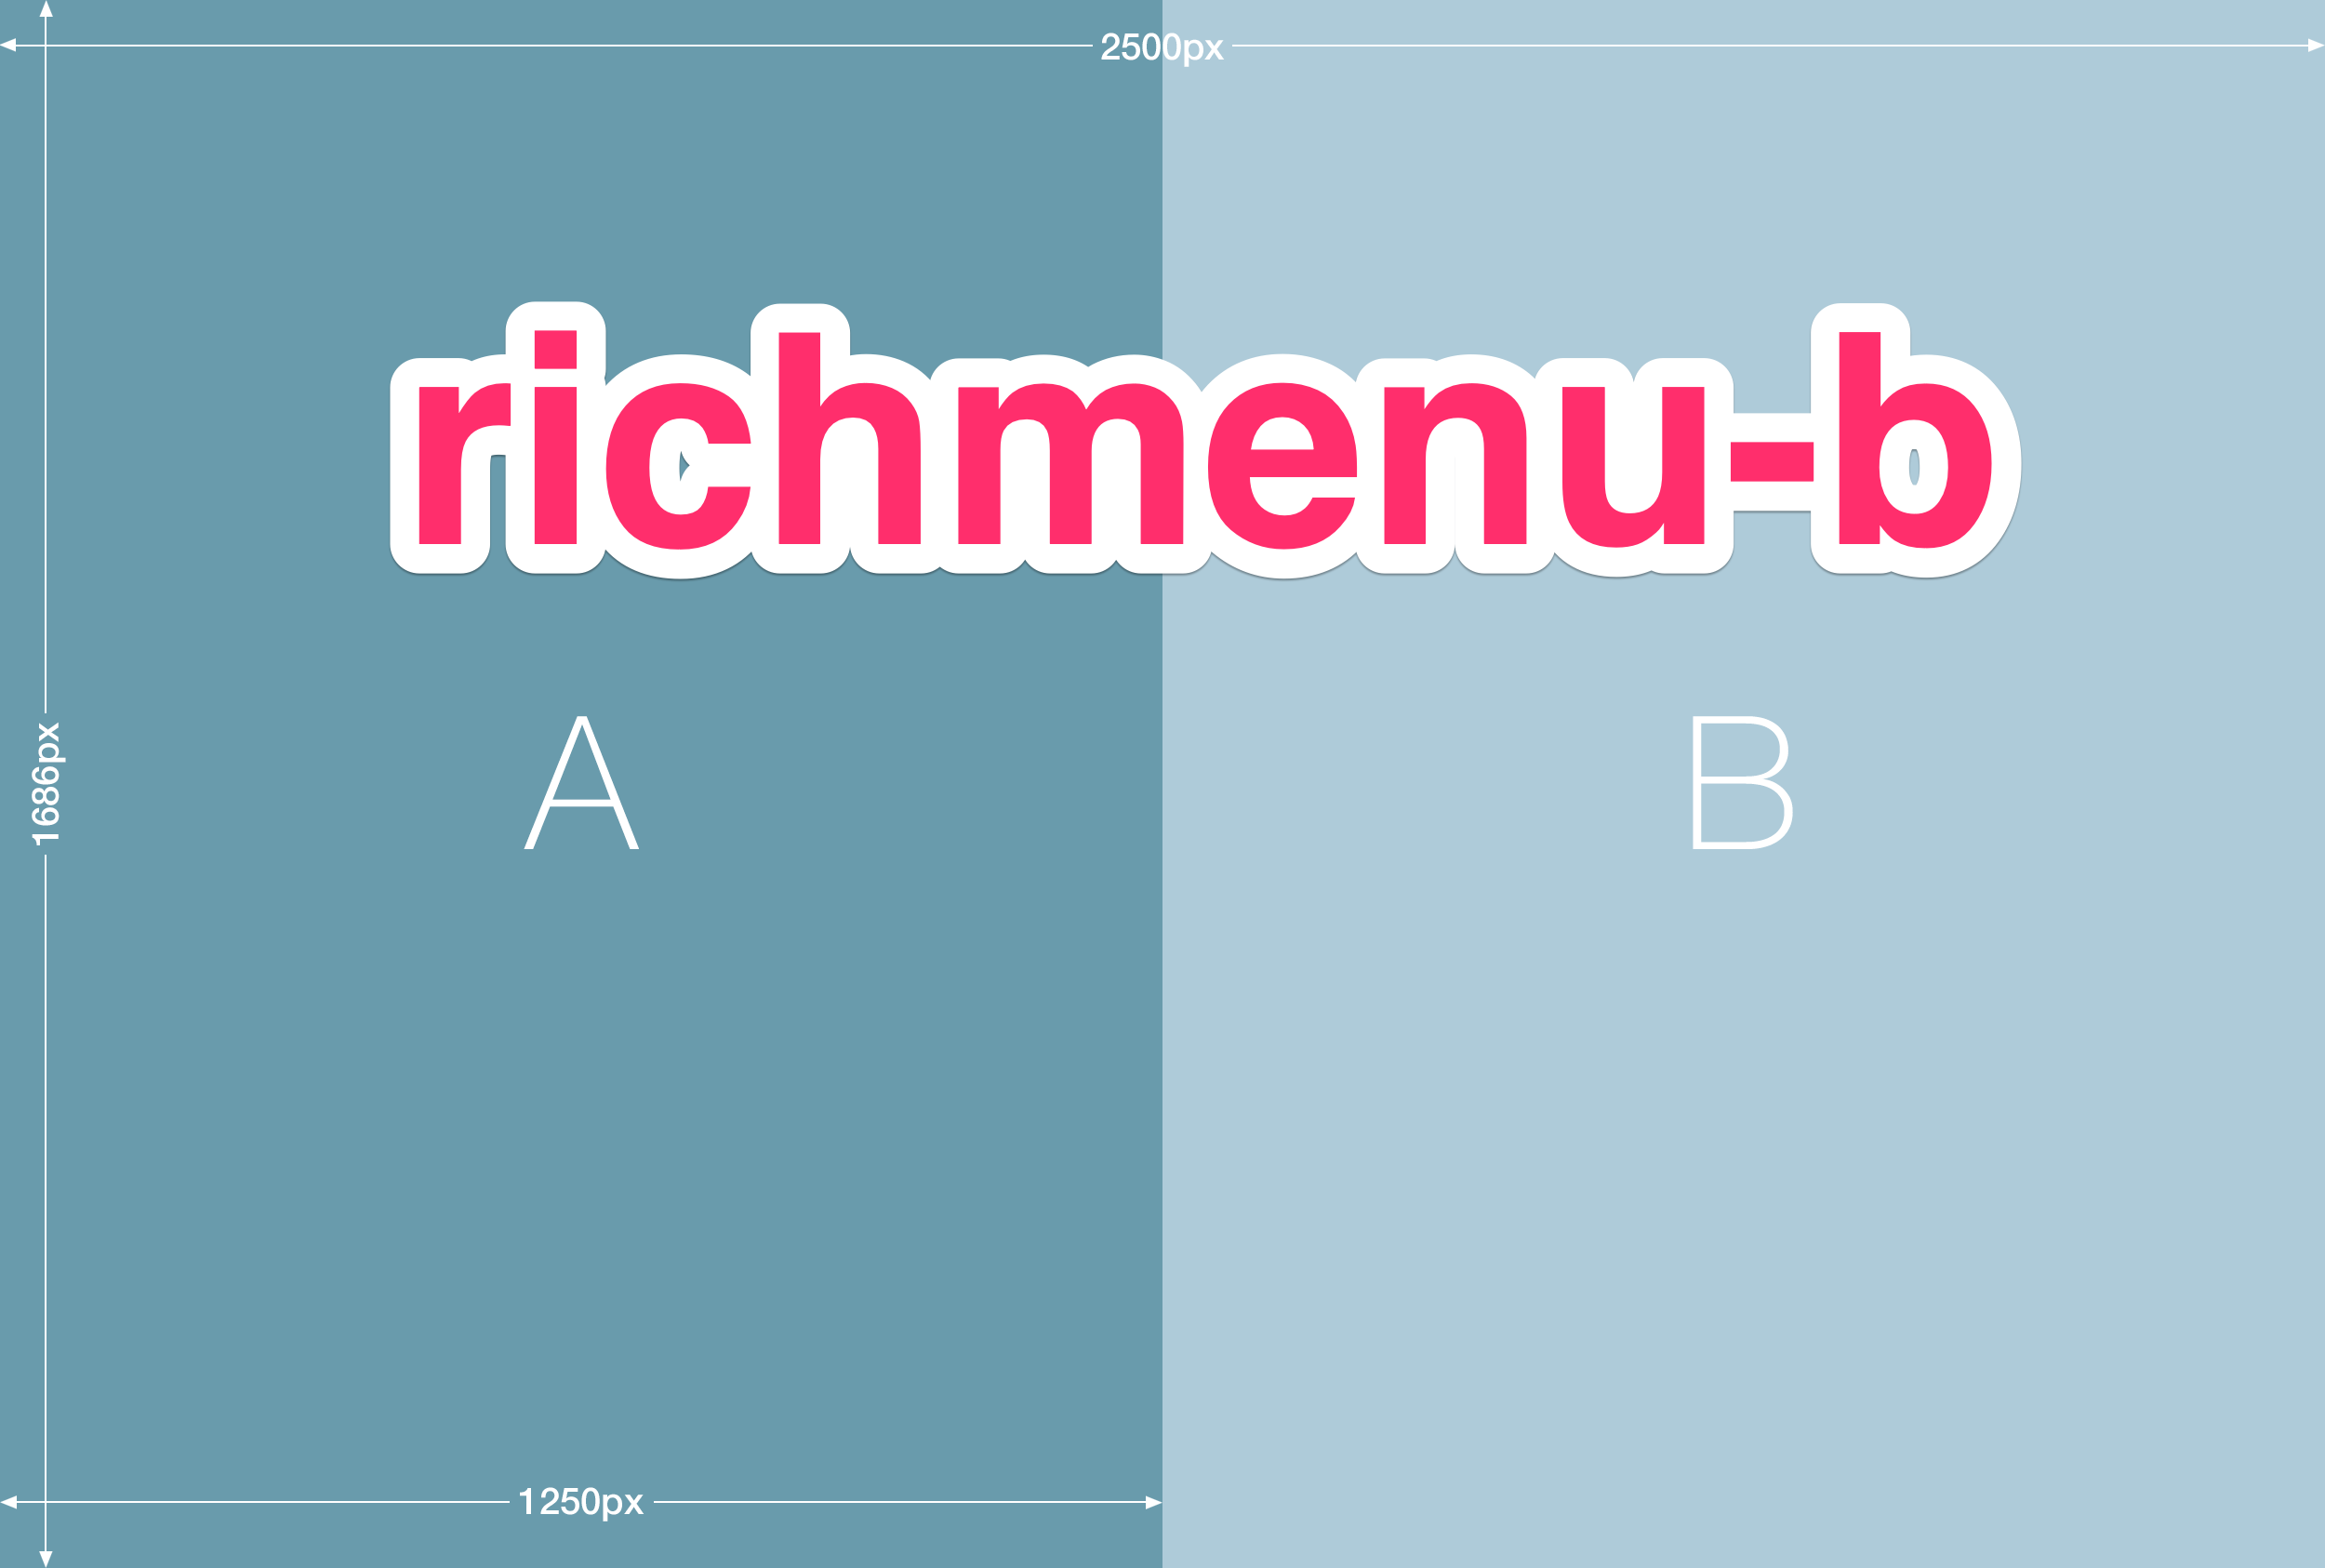 |
2. Create rich menu A
Create a rich menu with the Messaging API. For this example, specify actions for tappable areas in the area object as follows:
- Rich menu A's tappable area on the left
- Action: URI action
- URI: LINE Developers site
- Rich menu A's tappable area on the right
- Action: Rich menu switch action (type:
richmenuswitch) - Switching target: Rich menu B (richMenuAliasId:
richmenu-alias-b).
- Action: Rich menu switch action (type:
When the rich menu A is created, the ID of the rich menu is returned as a response.
3. Upload rich menu A image
Now that we created rich menu A, upload an image for rich menu A with the Messaging API. Specify the target menu as the path parameter with the rich menu ID we received from step 2.
4. Create rich menu B
Create rich menu B (richmenu-b) in the same way as rich menu A. Specify actions for tappable areas in the area object as follows.
- Rich menu B's tappable area on the left
- Action: Rich menu switch action (type:
richmenuswitch) - Switching target: Rich menu A (richMenuAliasId:
richmenu-alias-a)
- Action: Rich menu switch action (type:
- Rich menu B's tappable area on the right
- Action: URI action
- URI: LY Corporation Tech Blog
When the rich menu B is created, the ID of the rich menu is returned as a response.
5. Upload rich menu B image
Now that we created rich menu B, upload an image for rich menu B with the Messaging API. Specify the target menu as the path parameter with the rich menu ID we received in step 4.
6. Set rich menu A as default
Set the default rich menu to the rich menu A.
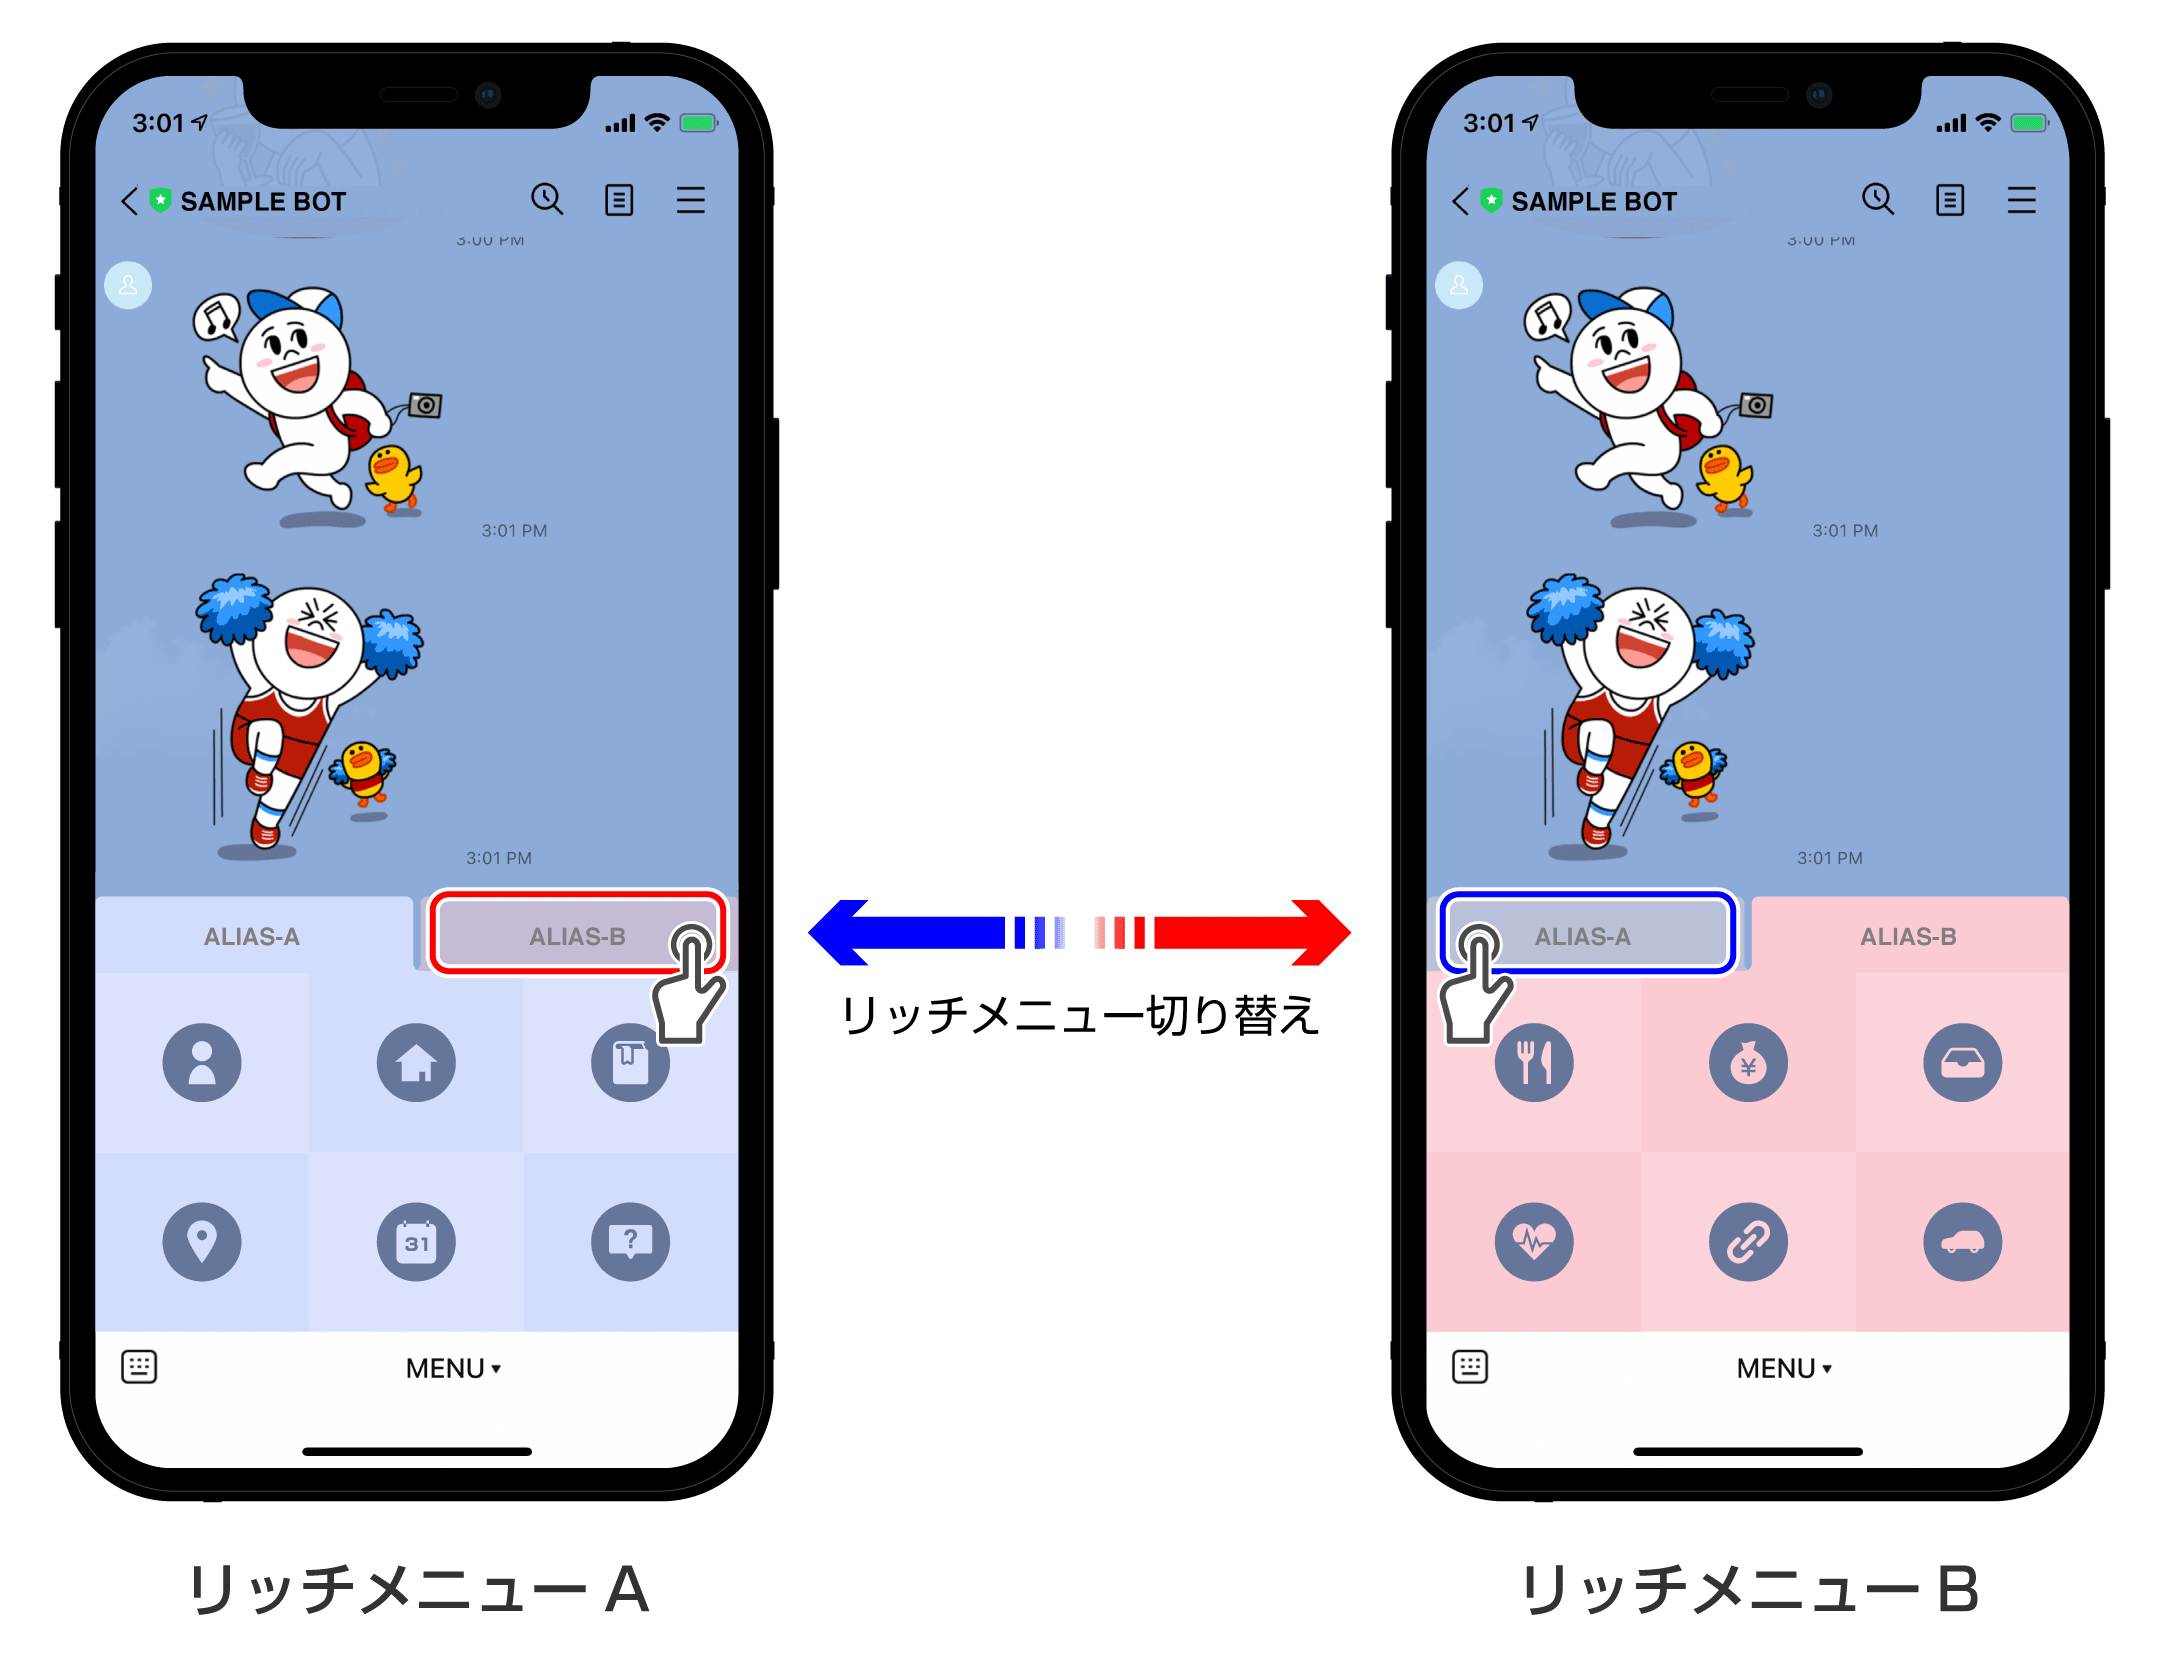
This makes the rich menu A displayed as the default. If you tap the right half of the rich menu A, the menu doesn't switch to the rich menu B. This is because we haven't created an alias for the rich menu B yet.
If the user has a per-user rich menu set with a display priority higher than the default rich menu, the rich menu A isn't displayed. To make the rich menu A displayed, delete the per-user rich menu or unlink the rich menu from the user. For more information, see Display priority of rich menus.
7. Create rich menu alias A
Create an alias for the rich menu A. Here is an example request to set an alias richmenu-alias-a to the rich menu A that we created in step 2.
8. Create rich menu alias B
Create an alias for the rich menu B. Here is an example request to set the alias richmenu-alias-b to the rich menu B that we created in step 4.
Now, when you tap the right tappable area of the rich menu A, you can switch to the rich menu B. When you tap the left tappable area of the rich menu B, you can switch back to the rich menu A.
| Rich menu A | Rich menu B |
|---|---|
|  |
You can change the aliases at all times.
9. Stop displaying rich menu
Suppose we want to stop displaying the rich menu. With the Messaging API, withdraw the rich menu in this order:
You can delete a rich menu without unlinking the rich menu from the user. But this removes the rich menu not immediately but the next time the user opens the chat.
You can unlink a rich menu from a user who is a friend of your LINE Official Account, if you know the user ID. To unlink a rich menu from a user but keep the rich menu:
The moment you unlink a rich menu from a user, the rich menu disappears from the chat room right away.
When the intended rich menu isn't displayed
If the intended rich menu isn't displayed, check the following points:
- You'll still see the rich menu after you clear the default
- You set a new default rich menu but you see a different rich menu
You'll still see the rich menu after you clear the default
When you switch from rich menu A to B or from B to A, you'll see the per-user menu with the highest display priority. Therefore, clearing the default rich menu set in step 6 has no effect on what you see. You'll still see the rich menu A or B.
Now if you delete a rich menu or unlink a rich menu from a user, the rich menu is no longer displayed. For more information about the display priority of rich menus, see Display priority of rich menus.
You set a new default rich menu but you see a different rich menu
If you don't see the rich menu you set as a new default, the problem lies in the display priority. There is a possibility that a per-user rich menu with a higher display priority exists.
To make the new default visible, you can delete the rich menu you see or unlink rich menu from user. For more information, see Display priority of rich menus.