Use per-user rich menus
This page explains how to set up a "per-user rich menu".
What is per-user rich menu
You can set a rich menu on a per-user basis using the Messaging API. Therefore, it's possible to enhance the user experience by preparing multiple rich menus and setting a different rich menu for each user.
The per-user rich menu has the following characteristics:
- Display priority is higher than the default rich menu
- The per-user rich menu has a higher display priority than the default rich menu. Therefore, if you've set a default rich menu for a LINE Official Account and you set a per-user rich menu for a user, the per-user rich menu will take precedence over the default rich menu. For more information, see Display priority of rich menus.
- Setting changes take effect immediately
- The per-user rich menu setting takes effect immediately and changes the display without the user having to re-enter the chat screen. For more information, see When rich menu setting changes take effect.
Set a per-user rich menu
The basic setup for the per-user rich menu is as follows:
- Create a rich menu and attach an image
- Prepare a user ID
- Link the rich menu to the user
- Unlink the rich menu from the user to stop displaying the per-user rich menu (optional)
1. Create a rich menu and attach an image
First, create a rich menu. For more information on how to create a rich menu, see Use rich menus.
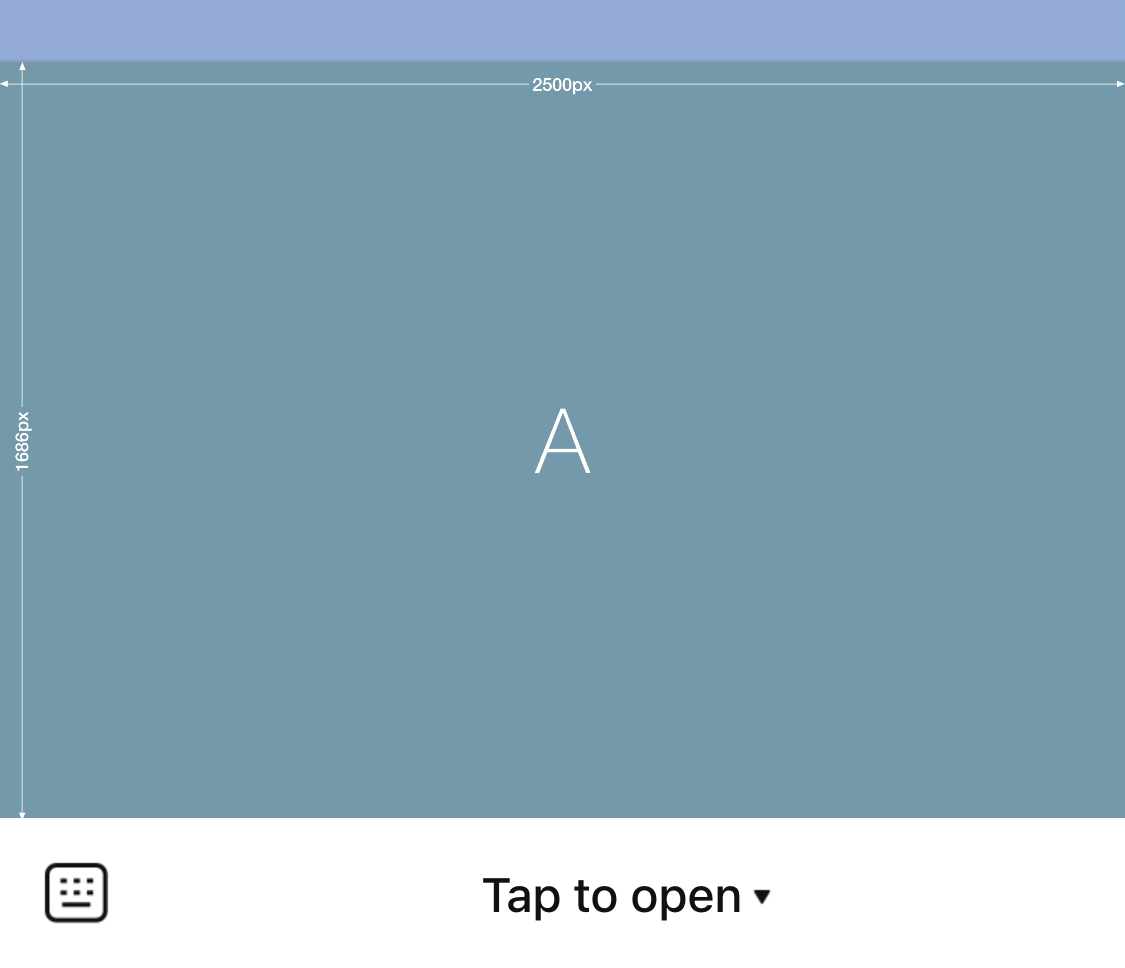
Here we use the following template image (richmenu-template-guide-07.png) for the rich menu. Save it on any directory.

Run this command in your terminal, to create a rich menu:
Next, run this command in your terminal to upload and attach an image to the rich menu.
2. Prepare a user ID
Prepare the user ID of a user who will display the rich menu. Here, prepare your own user ID to actually check the display.
Example of user ID: U8189cf6745fc0d808977bdb0b9f22995
For more information on getting user IDs, see Developer gets their own user ID on Get user IDs.
3. Link the rich menu to the user
Once the rich menu and your user ID are ready, link the rich menu to the user. Run this command in your terminal.
3-1. Check the rich menu display
Check that the per-user rich menu set in step 3 is displayed. Open the chat screen of the LINE Official Account for which you've set the rich menu.
4. Unlink the rich menu from the user
Finally, unlink the rich menu from the user and stop displaying the rich menu. Run this command in your terminal while displaying the chat screen opened in step 4.
The per-user rich menu display ends when execution is complete because the per-user rich menu setting takes effect immediately.
Note that if the default rich menu is set, the default rich menu will be displayed instead.
Allow users to switch between rich menus
You can provide users with a rich menu with tab switching using per-user rich menus. To switch between rich menus with ease, like switching between tabs, use rich menu aliases and rich menu switch action.
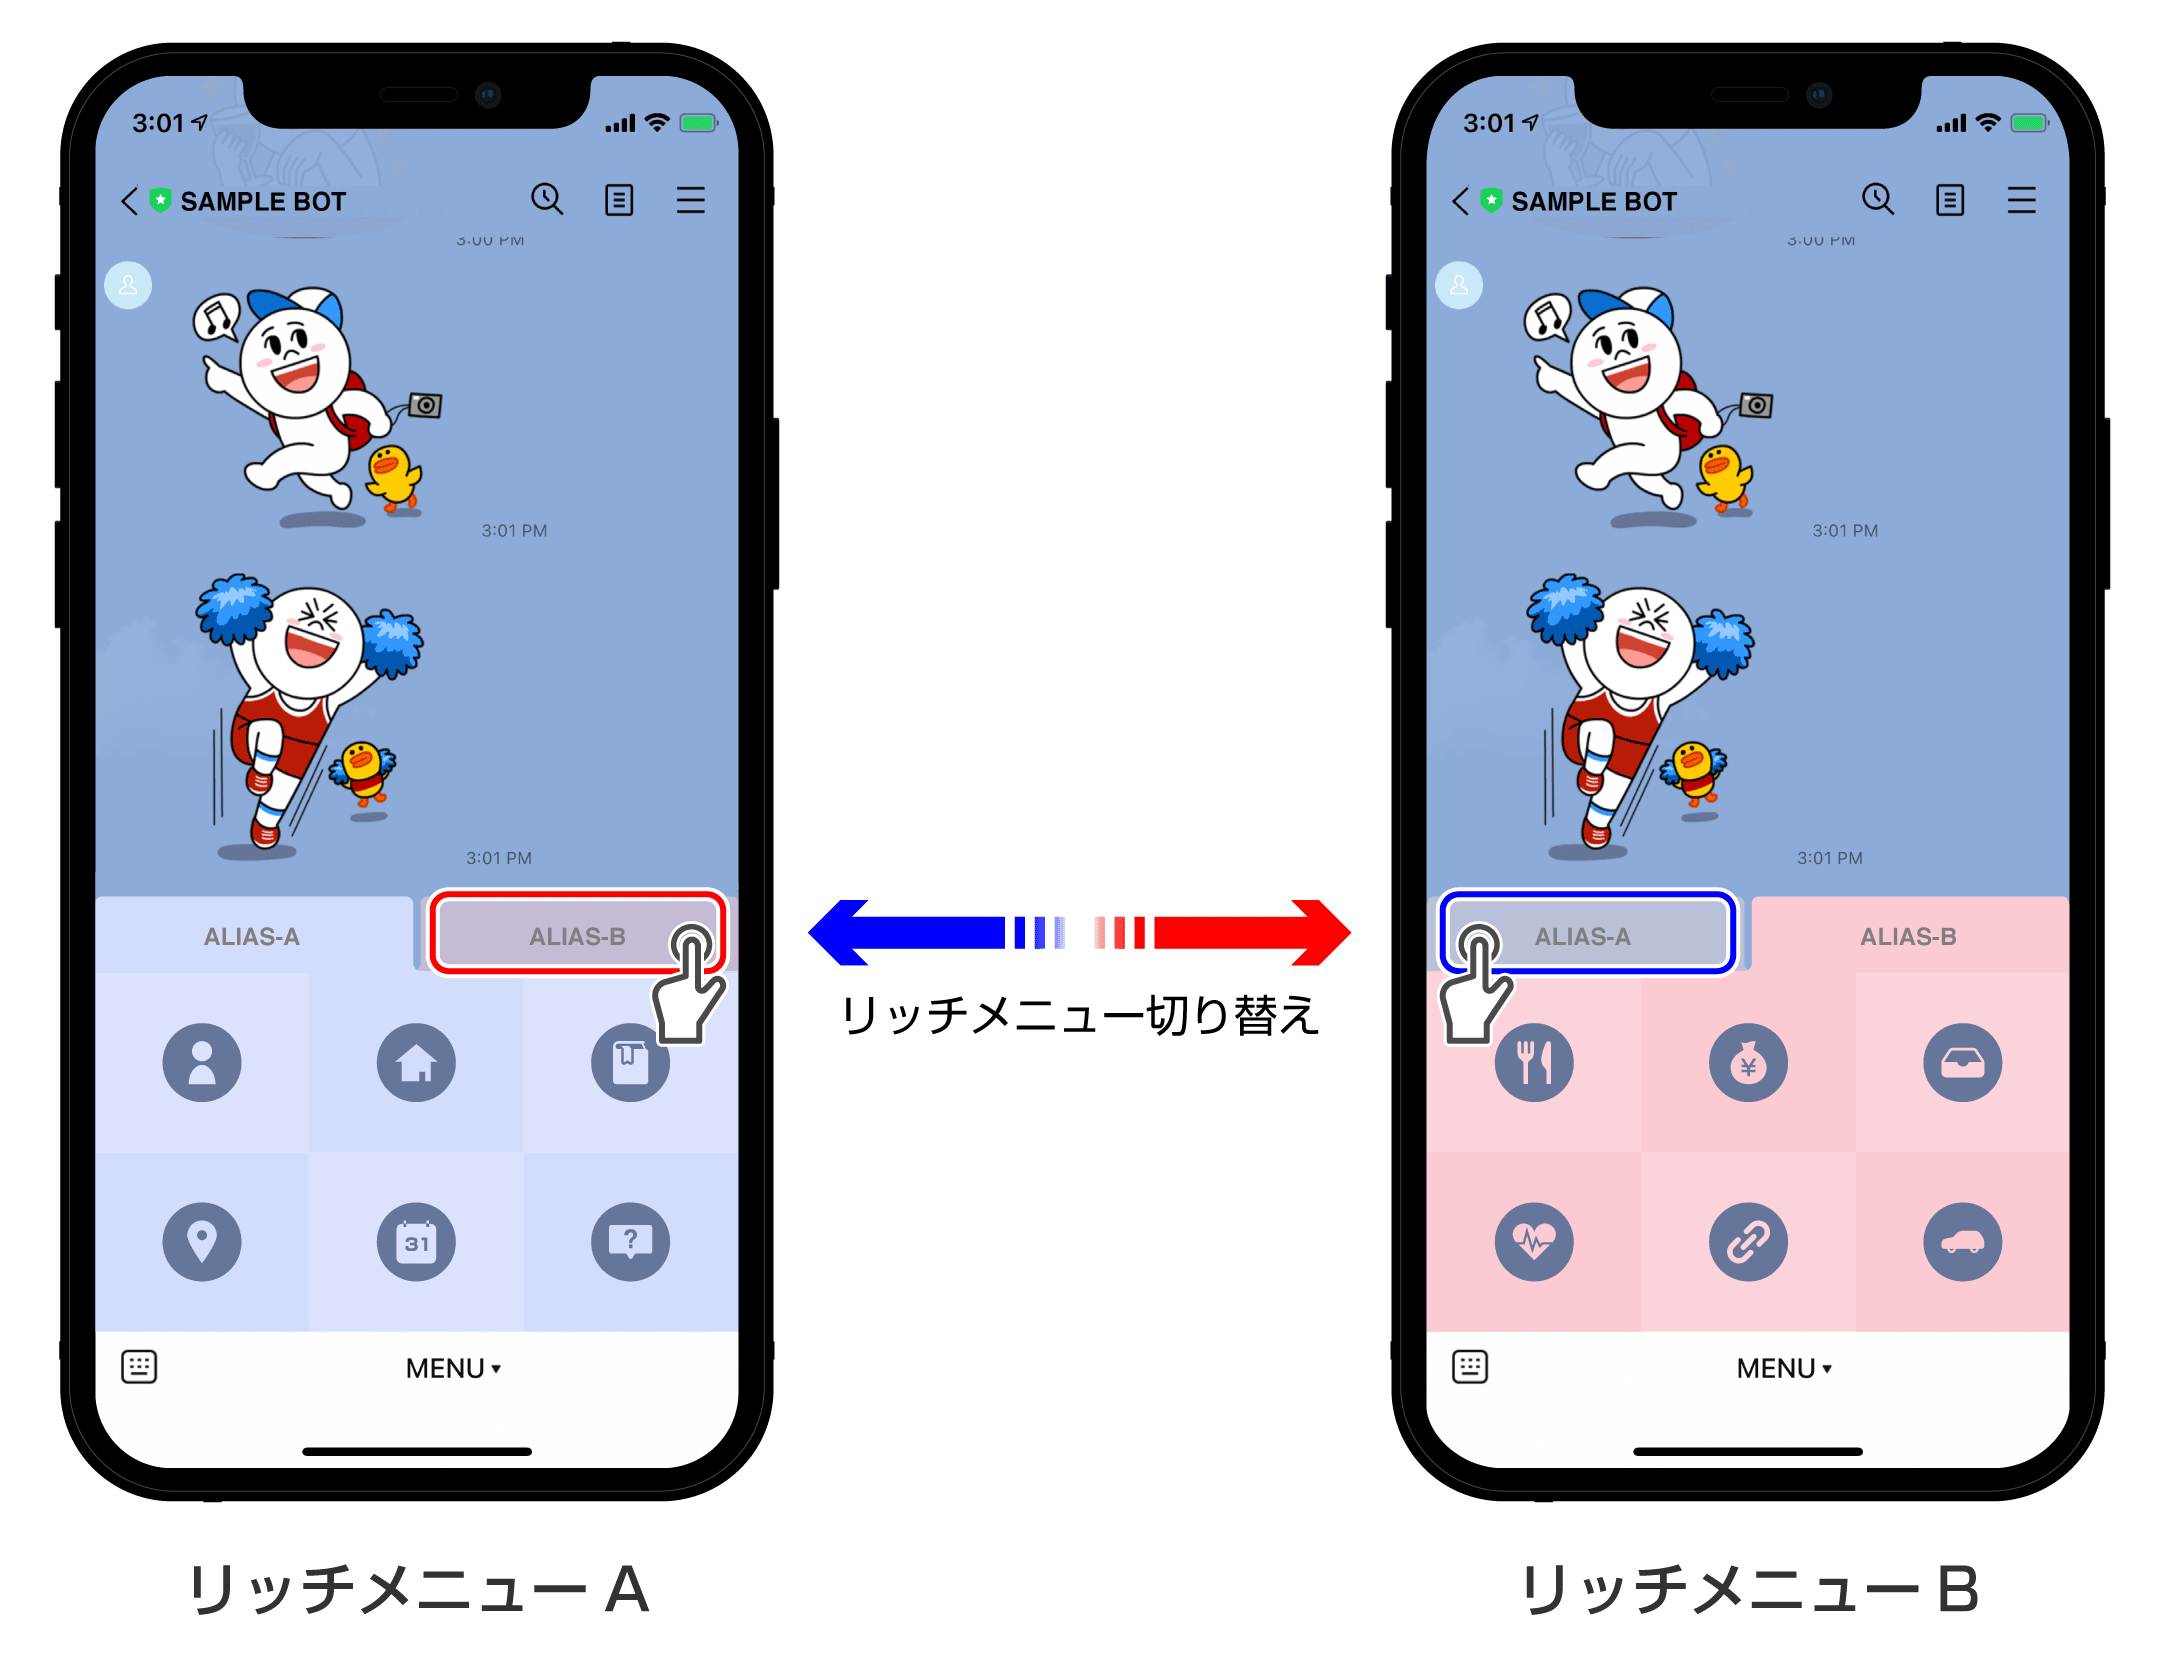
For more information, see Switch between tabs on rich menus.