Tutorial - Make a reply bot
In this tutorial, you'll learn how to send a message with the Messaging API and Node.js through a reply bot.
The Messaging API enables two-way communication between your service and LINE users. With the Messaging API, you can boost interactions with users by taking advantage of a wide range of functions that it offers. These functions include sending different types of messages, getting user profile, getting content sent by users, and many more.
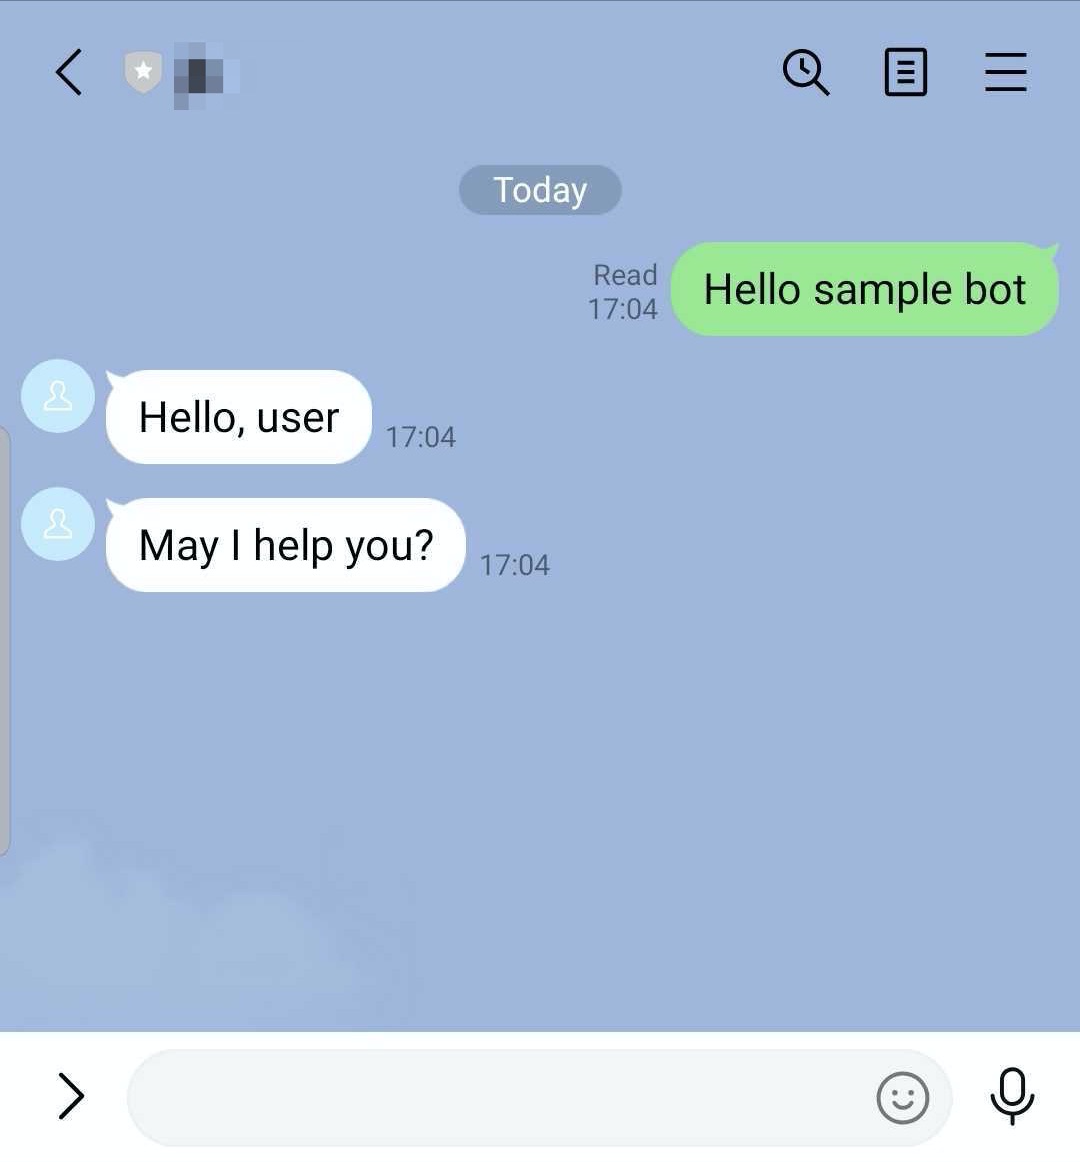
The outcome of this tutorial is an app which automatically responds to a user's message.
Before you start
This tutorial assumes that you have a basic knowledge of JavaScript and Node.js. Before you continue with this tutorial, we recommend that you read through Messaging API overview.
To help you learn the Messaging API, this tutorial shows you how to use the Messaging API with Node.js, but without the SDK provided by LY Corporation. To speed things up and write less lines of code for your project with Node.js, try the LINE Messaging API SDK for nodejs.
Preparation
To create a reply bot for this tutorial, first register to required systems and install required tools as specified below.
Register these accounts:
- A LINE Developers Console account: Log in to the LINE Developers Console with your LINE account or business account and create a developer account if you don't already have one.
- A Heroku accountHeroku's free plan has been discontinued
Heroku's free plan is discontinued as of November 27, 2022. To try this tutorial for free, use a different platform. For more information, see Heroku’s Next Chapter.
Install these tools:
1. Set up Heroku
Log in to the Heroku CLI. Run this command in your terminal or command line tool.
Create a directory for the tutorial and move to the directory. Initialize Git and create an app with Heroku. Replace {Name of your app} with a unique name such as msg-api-tutorial-{YYYYMMDD}.
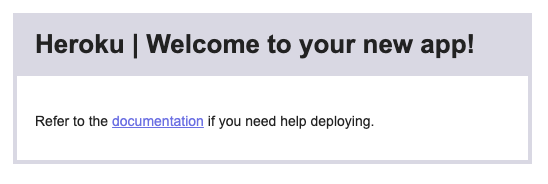
If your app is created successfully, a Heroku URL is generated in the form of https://{Name of your app}.herokuapp.com/. You need this URL later in the tutorial, so keep the URL. Open the Heroku URL in your browser. The welcome page is displayed.
2. Set up the project
We need to make npm identify our project with a package.json file. The file is to have this project's metadata and define dependencies. Create this file with the npm init command which initializes your npm package. Specify the -y option to skip all the questions asked during the setup, as no special configuration is required for this tutorial.
As a result, a package.json file is created similar to this:
Next, specify the start script. This informs a server platform like Heroku to know which file to use when starting the server. In this tutorial, we'll set index.js as our server configuration file. Open package.json in a text editor and specify "node index.js" for the "start" property.
Install the package Express.js with the command below. This is a lightweight Node.js web server framework we'll use in our project.
When Express.js is installed, a package dependency is added in the package.json. At the same time, a directory named node_modules is created. This directory has packages installed locally and we don't want the content in this directory to be pushed to Heroku. To filter this directory out, make a .gitignore file:
Open the .gitignore file created in a text editor and add the name of the directory in the file to filter out as shown below.
This prevents the specified directory to be pushed.
3. Implement the bot
Now that we completed the set up, let's begin to implement the reply bot:
3-1. Set global configuration
Let's create our main JavaScript file for server configuration, index.js.
Add a code in the index.js file created to import and instantiate express, the package we installed. Also import the https package to handle HTTP requests coming in to our bot. We don't need to import this package as it comes with Node.js by default.
Open the index.js in a text editor and add this block of code:
Now, add environment variables to simplify configuration process and secure credentials. The process.env.PORT variable specifies which port the server is to listen to. The process.env.LINE_ACCESS_TOKEN has the channel access token required to call the Messaging API. In index.js, add these settings under imported packages:
3-2. Set middleware
Express.js which we installed and imported is a middleware web framework. Middleware functions determine the flow of request-response cycle.
In this tutorial, we'll use Express.js functions express.json() and express.urlencoded(). These functions are pre-defined middleware functions to recognize incoming request objects in JSON, and string or arrays, respectively. To load the middleware functions, call app.use(). Add this block of code in the index.js file:
3-3. Set routing
Now let's add a basic routing logic to our bot server. To prevent health check failure, let's return a status code 200 when an HTTP GET request is sent to the root (/) of our domain. Add this block of code in the index.js file:
Next, set a listener to our server with the app.listen() function. Set the port of our listener to the PORT environment variable we set earlier. Our listener will listen to 3000, because that is the value we set, unless you specify a different port number. Add this code in index.js:
Now that our server can listen, we want to add the code to handle the requests the LINE Platform sends to the webhook URL. When a user interacts with your bot,the LINE Platform sends a request (webhook event) to the webhook URL that your bot server hosts. To process such requests, route the requests with the app.post(). Add this code in the index.js file, in between app.get() and app.listen() functions:
This code tells the bot server to return the HTTP response HTTP POST request sent to the webhook URL! when a HTTP POST request is sent to the /webhook endpoint.
So far, your index.js should look something like this:
3-4. Send a reply
It's time to implement the core feature of our reply bot, sending a reply to a user's message. The first thing we need to do is to detect when users send a message to you. We detect when we receive at the webhook URL a message event with the type property set to message.
Signature verification is necessary if you publish this sample bot to a production environment, for an unspecified number of users. Verify the signature in the request header x-line-signature to confirm that HTTP requests are sent from the LINE Platform.
For more information on how to verify signatures, see Verify signature.
To send a reply to the user, we use the send reply message endpoint. From the app.post() in the index.js file, call the send reply message endpoint (https://api.line.me/v2/bot/message/reply). Replace app.post with this code. Check the comments in the code below for detailed explanation:
4. Prepare a Messaging API channel
To use the Messaging API, you need to have a Messaging API channel and register your webhook URL. Create a channel if you don't have one yet.
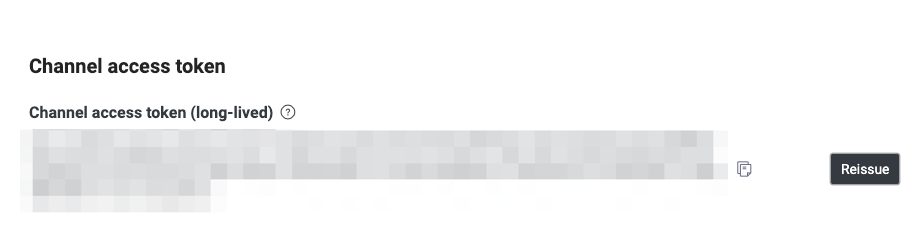
From your Messaging API channel page on the LINE Developers Console, open the Messaging API tab and issue a channel access token. We'll use this token when we deploy our bot to Heroku.
Next, register your webhook URL. In the Messaging API tab, based on the Heroku URL you obtained in the Set up Heroku section, fill the URL where your server listens for webhooks. The URL is in the form of https://{Name of your app}.herokuapp.com/webhook. Note that Webhook URL is not https://{Name of your app}.herokuapp.com/.
If you forgot or lost your Heroku URL, you can get the URL from the Heroku Dashboard.
Lastly, enable the Use webhook settings.

To test your bot, add your LINE Official Account associated with your bot as a friend on LINE by scanning the QR code on the Messaging API tab. For testing, disable the settings Auto-reply messages and Greeting messages.
Now your Messaging API channel is ready!
5. Deploy to Heroku
Earlier in the global configuration section, we set an environment variable LINE_ACCESS_TOKEN to use as the channel access token. For the app deployed to Heroku to work properly, we need to set and register the environment variable LINE_ACCESS_TOKEN.
To register your channel access token with the environment variable, run this command in your terminal or command line tool. Set LINE_ACCESS_TOKEN with the channel access token you got from the Prepare a Messaging API channel section.
Now your app is ready to be deployed! Push your code to Heroku. Run these commands in your terminal or command line tool:
Verify webhook URL
Before we test our bot, we want to check that webhook is working. Go to Messaging API tab for the channel you created in the Prepare a Messaging API channel section. Click Verify in Webhook URL to check that webhook is working. If there is no problem with the webhook URL, you'll see a message, "Success". You made a working bot.
Try the bot
Try to send a message to the bot on your LINE. If all is well, you'll receive a message from your bot like this:
Troubleshoot the sample bot
If your bot isn't working, check the Heroku log with this command:
Next steps
Continue your adventure with the Messaging API. The next quest for you is to add more features on the bot:
- Add rich menus to show tappable options to users.
- Respond to a user based on the action object you receive when a user triggers an action.
- Get a user's profile and send a customized message based on the profile information.
As introduced in the beginning of this tutorial, the LINE Messaging API SDK for nodejs helps you to build a bot much quicker. Have a go at it!